How to Frame a Basement Wall: A Step-by-Step Guide for Homeowners and Contractors
8 Apr 2025
Home Living SpacesFraming a basement wall is one of the most important steps when finishing a basement. Whether you're a homeowner tackling a DIY remodel or a contractor managing a project, knowing how to frame basement walls the right way ensures durability, comfort, and code compliance.
In this guide, we’ll walk you through how to frame a basement wall, from materials and prep to installation and insulation — with expert tips to avoid common mistakes.
Why Proper Basement Wall Framing Matters
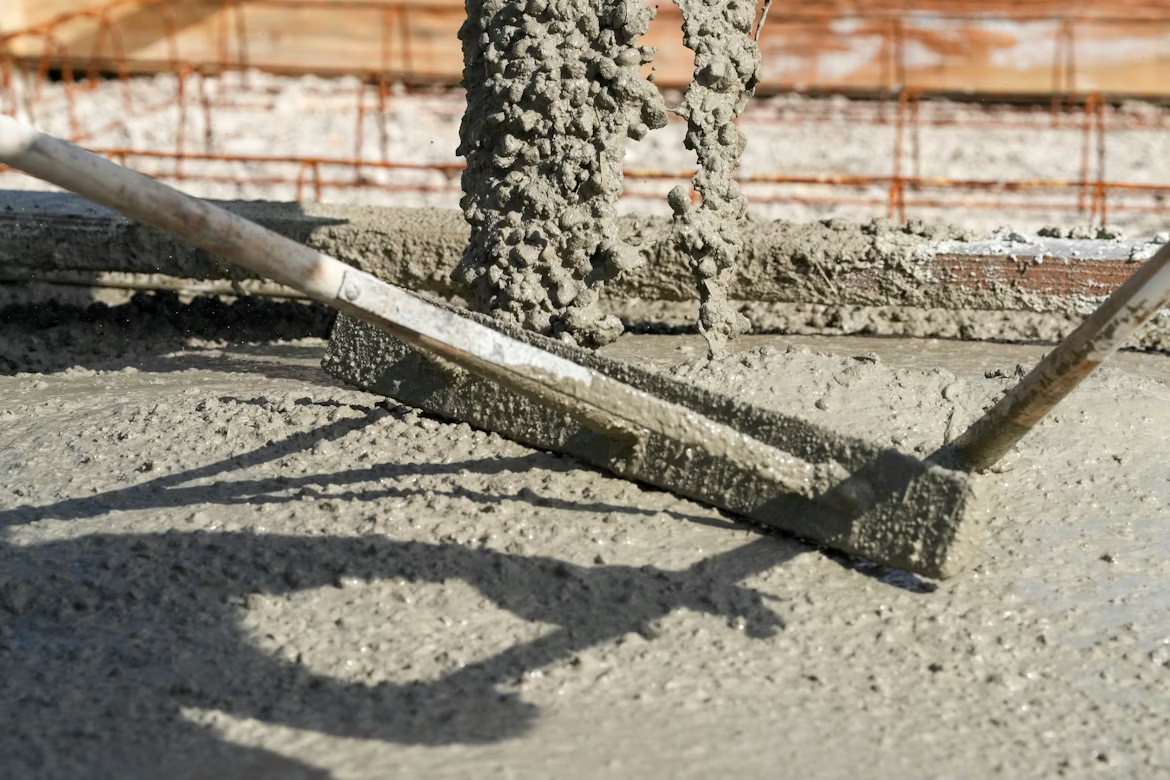
Unlike upper-level walls, basement walls deal with moisture, concrete foundations, and limited airflow. If not framed correctly, you risk mold, warping, or structural issues. Framing properly gives you a solid base for drywall, insulation, and finishing work — and adds value to your home.
Step-by-Step: Framing a Basement Wall
1. Plan the Layout
Start by measuring the space and marking your wall layout with a chalk line on the floor and ceiling. Make sure your layout avoids obstacles like HVAC ducts, plumbing, and electrical panels. Leave a 1-inch gap between the new wall and the concrete foundation for moisture protection and insulation space.
2. Choose the Right Materials
- Pressure-treated lumber for the bottom plate (touching the concrete)
- Standard 2x4 studs for vertical framing
- Concrete screws or anchors (like Tapcons)
- Rigid foam or fiberglass insulation, depending on your insulation plan
Using pressure-treated wood for the bottom plate helps prevent moisture damage over time.
3. Anchor the Bottom Plate
Use a hammer drill to drill into the concrete floor. Secure the bottom plate with concrete anchors spaced every 16–24 inches. Make sure it’s straight and firmly attached — this is the foundation for your wall framing.
4. Build the Wall Frame
Cut your vertical studs to the correct height. Most basements have shorter ceilings, so measure carefully. Place studs 16 inches on center (O.C.), nail or screw them to the top and bottom plates, and build the frame flat on the floor if you have room.
Once the wall frame is assembled, tilt it upright and position it along your chalk line.
5. Secure the Top Plate
Use a laser level or plumb bob to make sure your top plate is aligned with the bottom plate. Anchor it to the ceiling joists above using framing nails or screws. Check that the wall is plumb (vertically level) before fully securing it.
6. Add Insulation and Vapor Barrier
- Use rigid foam board insulation against the concrete wall before framing, or
- Install fiberglass batt insulation between studs after framing
In either case, you’ll need a vapor barrier on the warm side of the wall to prevent condensation and mold growth.
7. Prep for Electrical and Plumbing
If you’re adding outlets, switches, or plumbing, now’s the time to run rough-ins through your studs. Drill holes at standard heights and follow local building codes.
Common Mistakes to Avoid
- Placing framing directly against the concrete wall (leads to moisture damage)
- Not using pressure-treated wood on the floor
- Skipping the vapor barrier
- Uneven or off-center stud spacing
- Not checking for plumb and level during installation
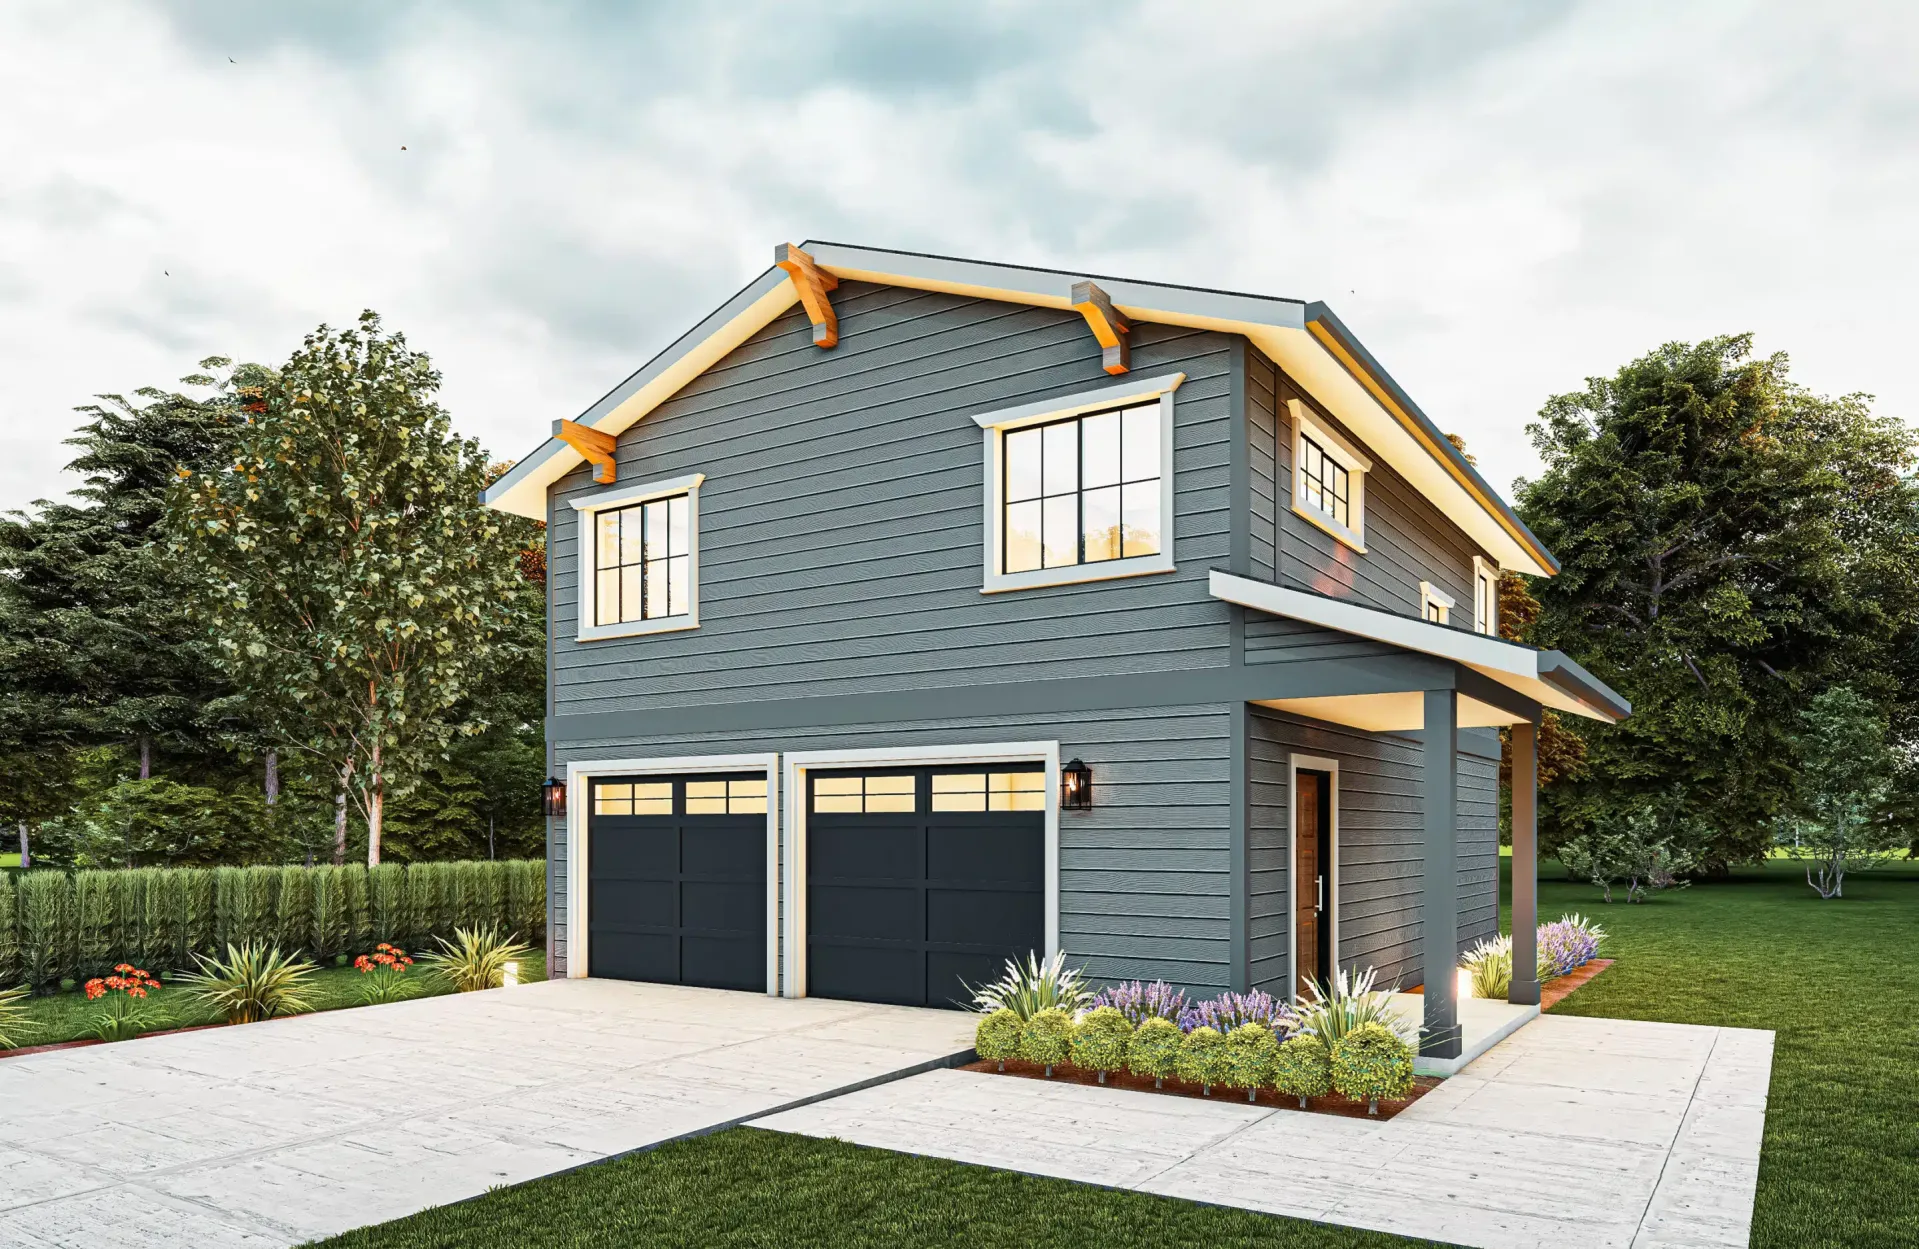
Framing Basement Walls in Washington? We Can Help.
If you're in Bellevue, Renton, or anywhere in the Seattle area, F&M Construction offers expert basement framing, remodeling, and finish work. Whether you need help with a full basement conversion or just want professional framing done right, we’ve got you covered.
Contact us today at 425-469-0452 or follow us on Instagram at @fmconstructionr to see our latest work.
Keywords targeted:
Related Posts:

Get a Free Estimate Today
We will visit your space to better understand your needs and we will send you a quote for your project for free.