Framing a garage door is a critical step in preparing for a new installation or replacement. Whether you’re building a new garage or upgrading an existing opening, proper framing ensures the door operates smoothly, lasts longer, and meets safety standards.
Why Garage Door Framing Matters
Garage doors are heavy, and the framing must handle both the weight of the door and the movement of its hardware. A strong frame:
- Supports the load from the wall and roof above.
- Keeps the door opening square and level for proper operation.
- Provides secure anchor points for tracks, springs, and weather seals.
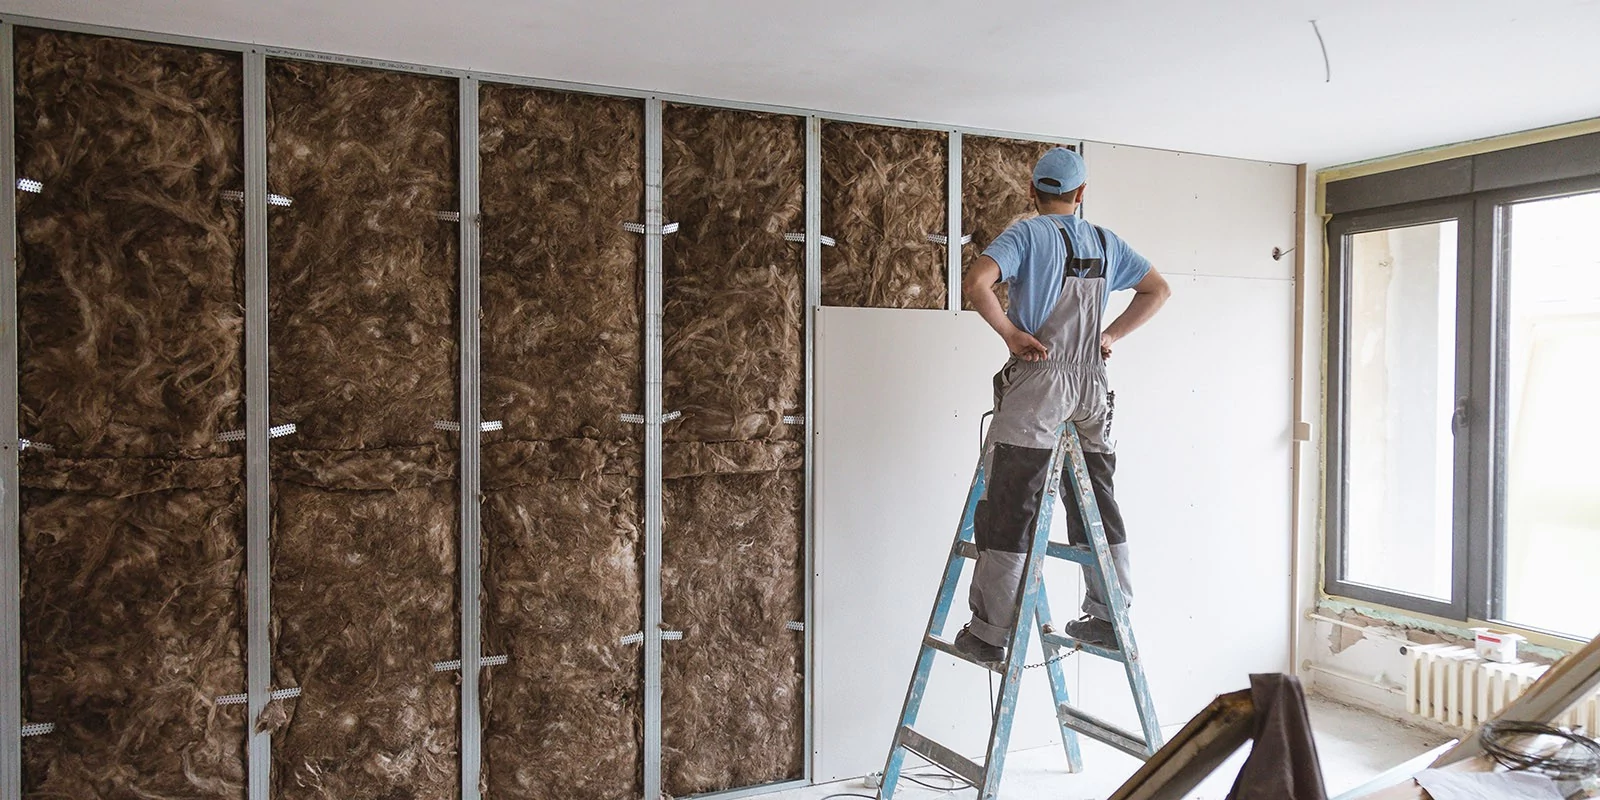
Main Components of Garage Door Framing
- Header – The horizontal beam above the door opening that carries the load from above. Often made of laminated veneer lumber (LVL) or doubled/tripled 2x material.
- King Studs – Full-length vertical studs on each side of the opening that run from the floor plate to the top plate.
- Trimmer Studs (Jack Studs) – Short studs inside the king studs that support the header.
- Sill Plate – The bottom plate attached to the concrete foundation or floor.
- Cripple Studs – Short studs above the header to tie into the rest of the wall framing (if applicable).
- Side Jambs – Finished vertical boards that create a smooth edge for the garage door to seal against.
Sizing the Rough Opening
The rough opening for a garage door is generally the same size as the door itself.
- Width: Equal to the door width (e.g., an 8’ door needs an 8’ rough opening).
- Height: Equal to the door height plus about 1.5 inches to accommodate clearance and floor seals.
- Always check the manufacturer’s specifications before cutting.
Step-by-Step Framing Process
- Measure and Mark: Mark the location of your king studs, trimmer studs, and header height.
- Cut the Opening: Remove existing studs where the opening will be.
- Install King and Trimmer Studs: Set king studs first, then install trimmer studs inside them.
- Add the Header: Place the header on top of the trimmer studs, ensuring it’s level.
- Install Cripple Studs: If your wall has space above the header, fill it with cripple studs.
- Finish with Jambs: Install smooth side jambs for a tight door seal.
- Check for Square: Measure diagonally both ways to ensure the frame is perfectly square before installing the door.
Pro Tips
- Use pressure-treated lumber for any framing in contact with concrete to prevent rot.
- Always follow local building codes for header sizing and load requirements.
- If replacing an existing door, inspect the old framing for rot or warping before reuse.
Bottom Line:
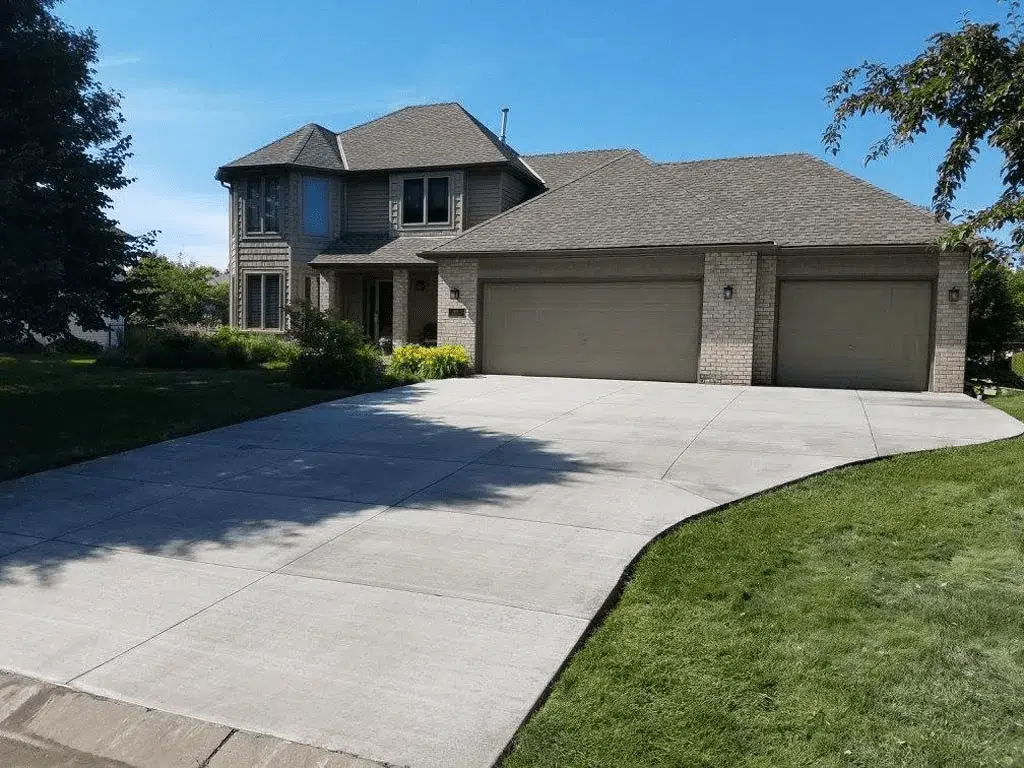
Framing for a garage door is more than just creating an opening — it’s building a strong, precise structure that will support years of smooth operation. Done right, it ensures your garage door fits perfectly, functions safely, and enhances your home’s curb appeal.
Related Posts:

Get a Free Estimate Today
We will visit your space to better understand your needs and we will send you a quote for your project for free.